Choosing Leather for Cosplay Armour: Veg-Tan, Wet-Forming and What Holds a Shape
For cosplay armour that has to hold a shape, use vegetable tanned leather. Chrome tanned leather springs back when you try to form it, so it suits a soft costume piece but not a pauldron, a bracer or a helmet that needs to keep its curve.
Veg-tan or chrome-tan
The tanning method decides everything. Vegetable tanned leather has open fibres. Soak it, bend it over a form and let it dry, and the fibres lock into the new shape. That is why it is the standard leather for armour, masks, cases and anything sculptural.
Chrome tanned leather has compact, elastic fibres, so it stretches and then returns to where it started. It makes lovely bags and garments, but it will not hold a formed curve. If a shop cannot tell you how a hide was tanned, do not buy it for armour.
How thick should armour leather be
Thin veg-tan is easy to wet form but flops. Heavy veg-tan looks the part but is hard work around tight curves, and the difficulty climbs once you pass about 5 oz. For most cosplay pieces a medium weight is the sensible middle: firm enough to stand on its own, thin enough to cut and stitch by hand.
Firmness matters as much as thickness. Buy a firm, dense veg-tan rather than a soft, tumbled one, even if both are sold as the same ounce.
What our armour patterns actually need
Every Tony See Patterns armour pattern is a real size PDF in A4, US Letter and Legal editions, with stitching holes pre-marked and a free step by step video tutorial. The hardware list on each product page tells you what holds the pieces together.
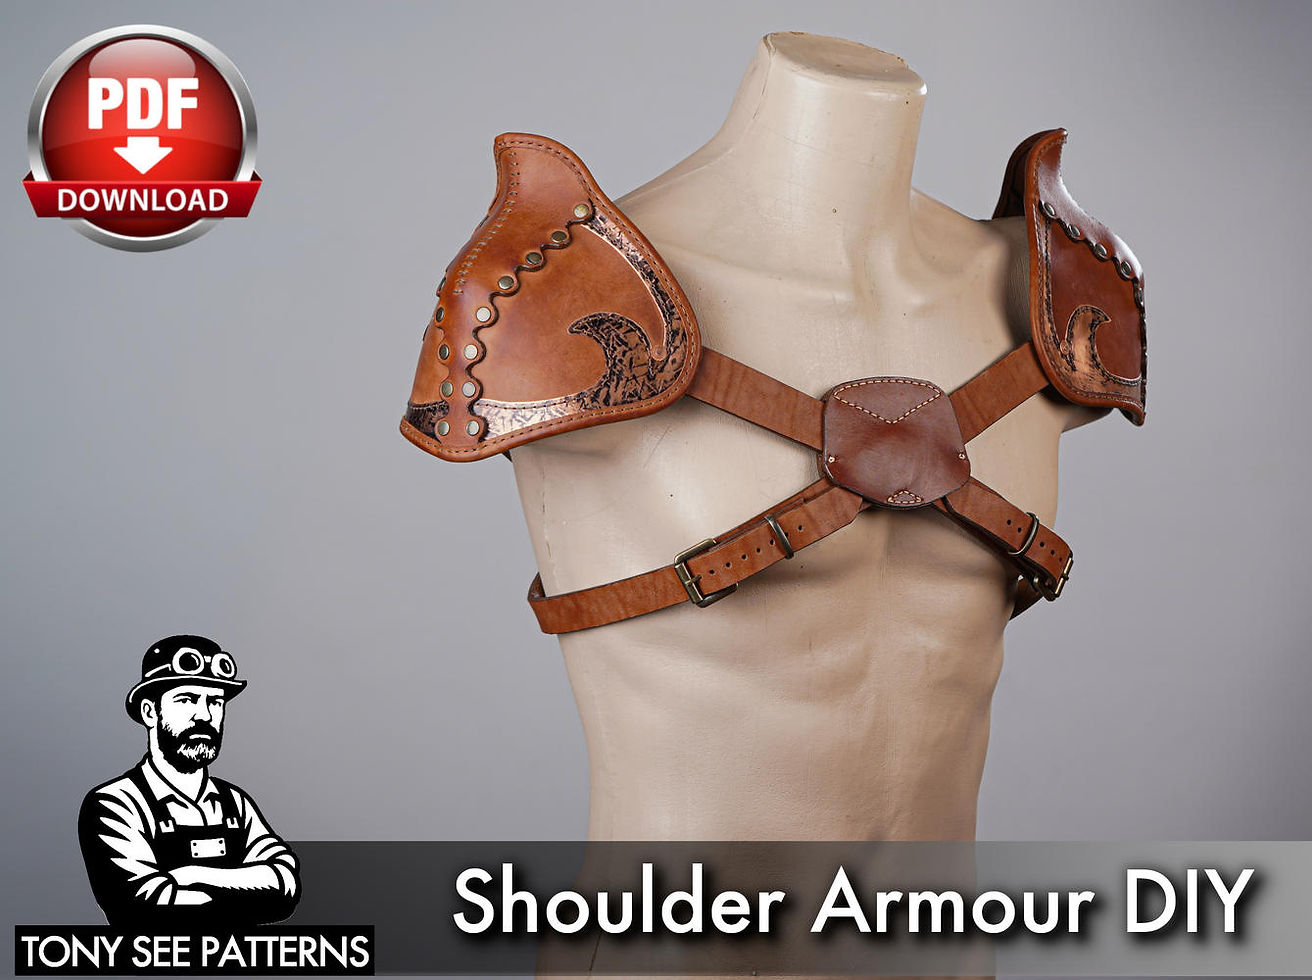
The shoulder armour pattern, a pauldron design that overlaps plates across the shoulder, uses 2 roller buckles at 25 mm and 32 double cap rivets at 9 mm.
The bracers pattern, wrist armour that straps around the forearm, uses 10 roller buckles at 3/4 inch and 40 double cap rivets at 9 mm.
The boot covers pattern, medieval style gaiters with buckled straps, uses 8 roller buckles at 20 mm and 30 double cap rivets at 9 mm.
Rivets and buckles carry the load in these builds, so the leather is not wet formed into a rigid shell. The plates take their curve from the way they are riveted and from the body underneath, which is why they suit a first armour project.
When wet forming is worth it
Wet form when a single piece must hold a dome or a compound curve on its own, like a helmet crown. Soak the cut piece in room temperature water until the bubbles stop, let the surface dry back to a damp feel, shape it over a form and leave it to dry slowly. Never force it with heat, which shrinks and hardens the leather unevenly. Punch your stitching holes before forming, because dried veg-tan is much harder to punch cleanly.
Troubleshooting
The piece went soft again after a week: it was chrome-tan, or a veg-tan too thin for the job.
Cracks on the outside of a curve: the leather was too dry when you bent it, or the bend was too tight for the thickness.
Dark water stains: normal for veg-tan. Dye after forming, not before.
The formed piece shrank and the holes no longer match: heat drying. Air dry the next one.
These patterns are licensed for personal crafting, including the sale of up to 10 finished items per year. Start small with our free patterns, then browse all patterns to find the armour piece you want to build.

Tony, the distinction between a shaped leather component and flexible clothing is useful when planning a complete costume. I’m writing from Sewlore, where Sewlore’s hooded cloak design explores a textile outer layer rather than a leather-working template. It is still in development, so compatibility with armour would need testing rather than assuming. For a costume combining both, I would want to check shoulder clearance and how the closures interact in a mock-up. At what stage do you usually consider the surrounding fabric layers?